
 Recommended Battery Size
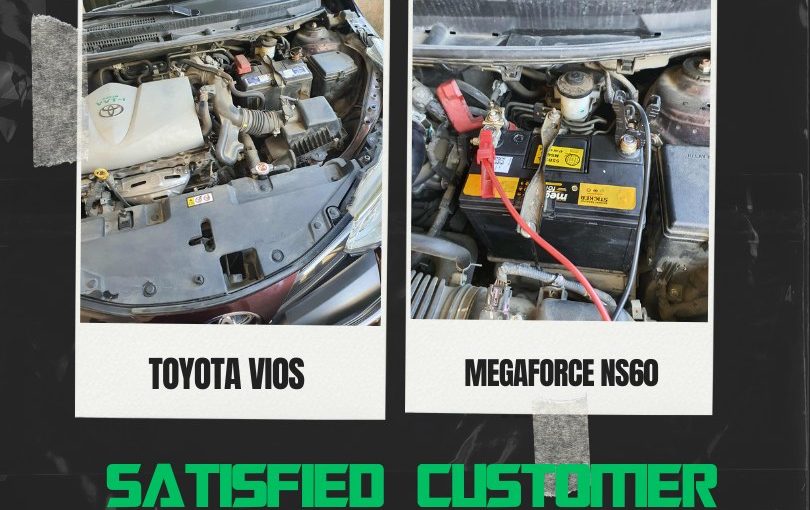
For most Toyota Vios models, the compatible battery sizes are:
 N50 / 2SMF — for older models (2003–2012)
- NS60 / 46B24L — for newer models (2013–present)
- Check Polarity: L-type (Left Positive Terminal)
 Always confirm your specific model’s battery size in your owner’s manual or use the Motolite Battery Finder to ensure the perfect match.
 How to Replace the Battery on a Toyota Vios
Replacing your Toyota Vios car battery is simple and can be done in a few minutes with basic tools. Follow these steps to ensure a safe and proper installation.
What You’ll Need:
New car battery (check the correct size and specifications for your Vios model)
10mm wrench or socket
Clean cloth or brush
Protective gloves
Step-by-Step Instructions:
Turn Off the Engine
Make sure the engine is off, the keys are removed from the ignition, and all lights and accessories are turned off.Open the Hood
Pull the hood release lever inside the car and secure the hood with the prop rod.Locate the Battery
The battery is usually found on the right-hand side (passenger side) of the engine bay.Disconnect the Negative Terminal
Using your wrench, loosen the nut on the negative (-) terminal first and remove the cable. This helps prevent short circuits.Disconnect the Positive Terminal
Next, loosen the positive (+) terminal and remove the cable.Remove the Battery Clamp or Bracket
Unscrew and remove the bracket or clamp holding the battery in place.Lift Out the Old Battery
Carefully lift the old battery straight up. Batteries are heavy, so use proper lifting technique.Clean the Battery Tray and Terminals
Remove any corrosion or dirt using a brush or cloth.Install the New Battery
Place the new battery into the tray with the terminals in the correct position.Secure the Battery Clamp
Reinstall the clamp or bracket to hold the battery firmly in place.Reconnect the Terminals
Connect the positive (+) terminal first.
Then connect the negative (-) terminal.
Tighten both connections securely.
Check Your Installation
Make sure the battery is stable and the cables are tight.Start the Engine
Turn on the ignition to verify the new battery is working properly.
 Pro Tip: If your dashboard clock, radio, or power windows reset, simply reprogram them after installation.
 Safety Reminder: If you’re unsure or uncomfortable performing the replacement yourself, it’s best to have a professional technician or Motolite technician handle it for you — especially since many offer free installation services.